Recipes
Easy Filled Cupcakes Tutorial for Delicious Centers
 By Benjamin James Batterson
Table of Contents
I used to think filled cupcakes were a bakery-level flex. You know, the kind of treat that requires a pastry degree and a magic wand. Then I cracked the code.
This filled cupcakes tutorial is the reason my friends now think I moonlight as a professional baker. Forget dry, boring cupcakes. We’re making moist, tender cakes bursting with surprise centers.
I’m handing you the blueprint. Your dessert game is about to level up, permanently.
Remember those snack pack puddings you loved as a kid? This is the sophisticated, homemade version that actually tastes like something.
The magic isn’t just in the cake. It’s in the moment someone takes a bite and discovers a hidden pocket of creamy, flavorful filling. Why settle for a one-note dessert when you can have a symphony?
I live for that look of pure, unadulterated joy. It’s a simple pleasure, but it hits every single time.
Ingredients
Gathering your ingredients is the first step to cupcake glory. I promise, there’s nothing too wild here.
The key is using room-temperature ingredients for a perfectly smooth batter. Trust me on this; it makes a world of difference.
- 1 ½ cups all-purpose flour
- 1 cup granulated sugar
- 1 ½ tsp baking powder
- ½ tsp salt
- ½ cup unsalted butter, softened
- 2 large eggs, room temp
- 2 tsp vanilla extract
- ½ cup whole milk, room temp
- 1 cup your favorite jam, pudding, or creamy chocolate ganache
Step-by-Step Instructions
- Preheat your oven and prepare your pan. Heat the oven to 350°F (175°C) and line a muffin tin with cupcake liners. This is non-negotiable for easy cleanup, IMO.
- Combine your dry ingredients. In a medium bowl, whisk the flour, sugar, baking powder, and salt. This ensures your leavening is evenly distributed for a uniform rise.
- Cream the butter and wet ingredients. In a separate large bowl, beat the softened butter until smooth, then mix in the eggs and vanilla. Don’t rush this step; a well-creamed base is the secret to a fluffy crumb.
- Alternate adding dry and wet ingredients. Gradually add the flour mixture and milk to the butter mixture, beginning and ending with the dry ingredients. Mix until just combined. Overmixing is the enemy of tender cupcakes!
- Bake to perfection. Divide the batter evenly among the liners and bake for 18-22 minutes. A toothpick inserted should come out clean. Let them cool completely before filling. Patience is a virtue here.
- Core and fill the cupcakes. Use a small paring knife or a cupcake corer to remove a small piece from the center of each cooled cupcake. Fill the hole with your chosen filling, and replace the top piece of cake. It’s like a little surgical procedure, but for dessert.
- Frost and serve. Top your masterpieces with a swirl of buttercream, and you’re done. Be prepared for applause. This is the final step in your filled cupcakes tutorial triumph.
Storage Instructions
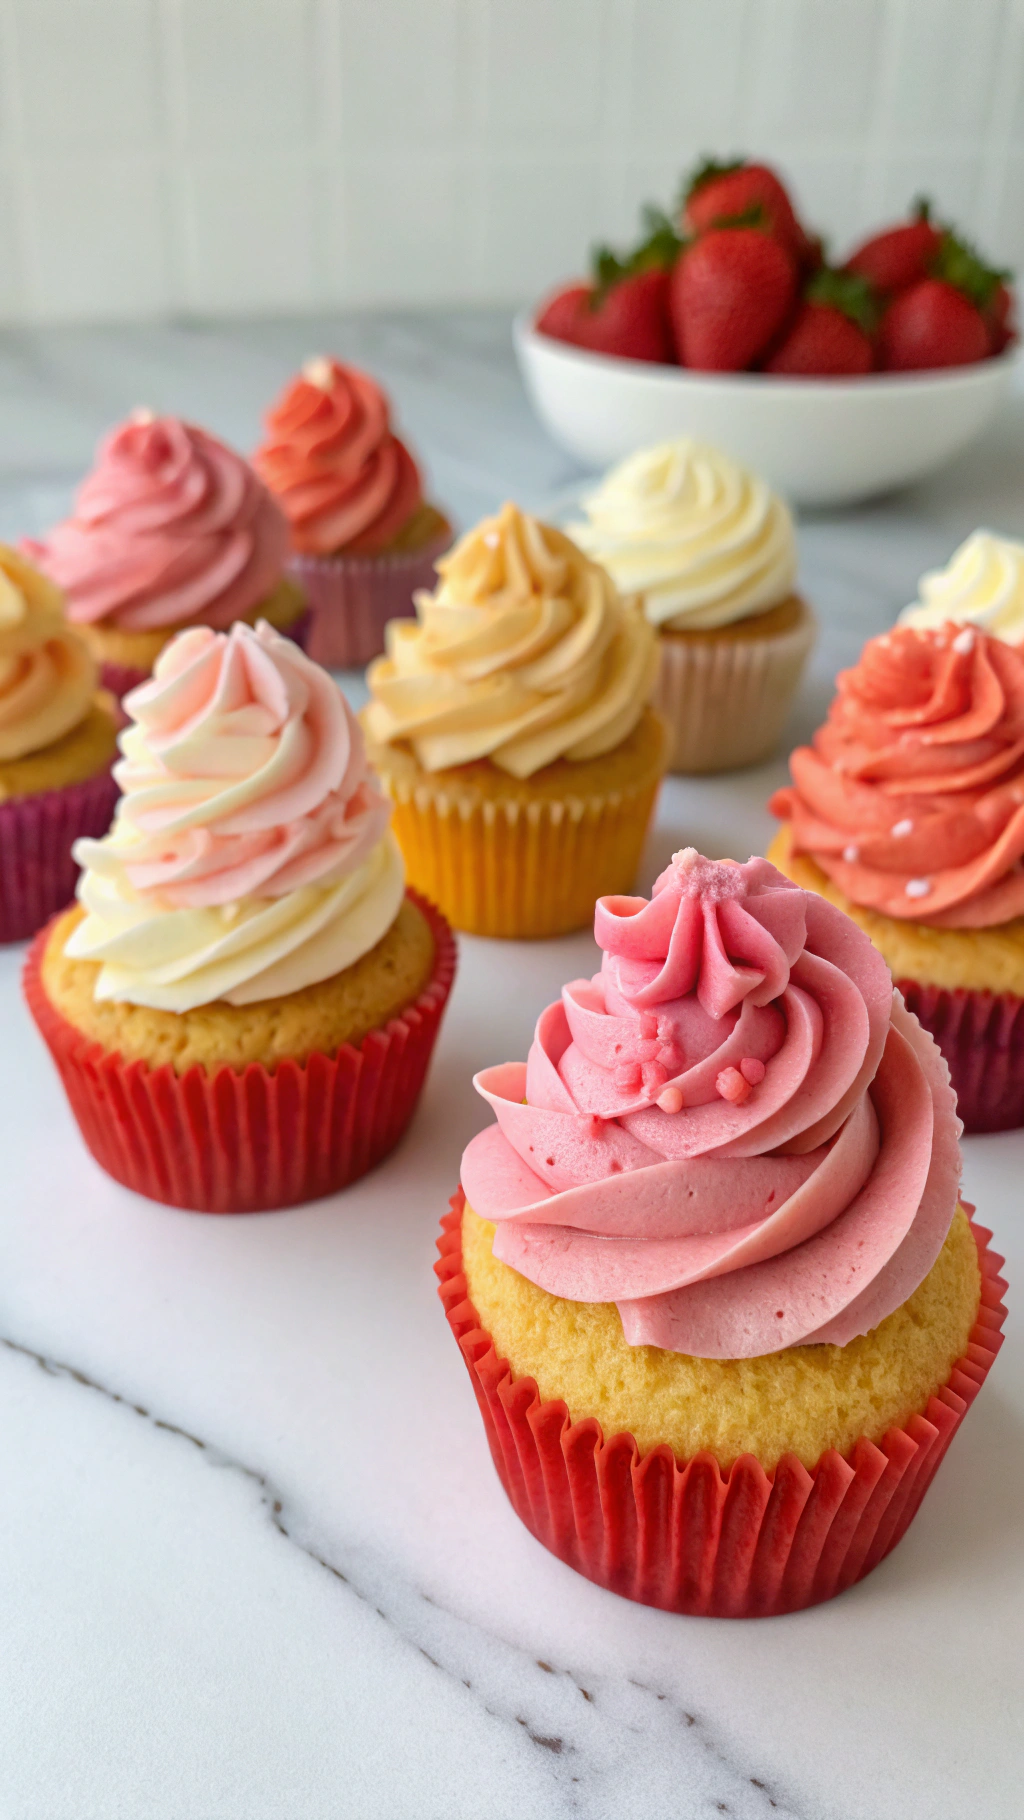
If, by some miracle, you have leftovers, you need to store them properly.
For short-term storage, keep them in an airtight container at room temperature for up to two days. If you used a perishable filling like custard, they must go in the fridge. For longer storage, freeze them for up to 3 months without frosting.
Thaw overnight in the fridge. This is a fantastic make-ahead dessert for parties.
Why You’ll Love This filled cupcakes tutorial
- Total Crowd-Pleaser: The surprise element makes these cupcakes a guaranteed hit at birthdays, potlucks, and parties.
- Endlessly Customizable: Swap the filling and frosting to create a completely new flavor profile every single time.
- Surprisingly Simple: This method looks professional but is deceptively easy. You’ll gain serious baker cred with minimal effort.
Common Mistakes to Avoid
- Filling warm cupcakes. The filling will melt and absorb into the cake, creating a soggy mess. Let them cool!
- Overfilling the centers. A heaping teaspoon is usually plenty. Otherwise, you risk a filling explosion on the first bite.
- Using cold ingredients. This leads to a dense, tough cupcake. Plan ahead and let everything come to room temperature.
- Overbaking. Set a timer! Dry cupcakes are a tragedy we can easily avoid. Check them a few minutes early.
Alternatives and Variations
The beauty of this filled cupcakes tutorial is its flexibility.
For a gluten-free version, use a 1:1 gluten-free flour blend. To make it vegan, swap the butter for plant-based butter, use flax eggs, and choose a non-dairy milk. Feeling adventurous?
Fill them with lemon curd, salted caramel, or even a fruit compote. The world is your oyster, or in this case, your cupcake.
FAQs
Can I freeze these filled cupcakes?
Absolutely! Freeze them unfrosted in a single layer on a baking sheet before transferring to an airtight container.
They’ll keep for up to three months. Thaw in the refrigerator overnight.
What’s the best substitute for jam?
If you’re not a jam person, pudding, lemon curd, or even a nutella frosting are fantastic alternatives. The goal is a thick, flavorful filling that won’t make the cake soggy.
How long do filled cupcakes stay fresh?
When stored in an airtight container at room temperature, they are best enjoyed within 2 days.
If refrigerated due to a dairy-based filling, consume within 3-4 days for optimal taste and texture.
Is this recipe kid-friendly?
Incredibly! Kids love the fun surprise inside. They’re perfect for birthday parties and a great way to get little ones involved in the kitchen, especially with the filling step.
Can I prep the cupcakes ahead of time?
Yes, and I highly recommend it.
Bake and core the cupcakes a day ahead. Store them unfrosted at room temperature. The next day, just fill, frost, and serve.
It makes entertaining a breeze.
Final Thoughts
This filled cupcakes tutorial is your secret weapon. It transforms a simple treat into a memorable experience. The process is fun, the results are impressive, and the taste is unforgettable.
I hope this guide gives you the confidence to create something amazing. Now go forth and bake! Don’t forget to tag me in your photos—I want to see your beautiful creations.